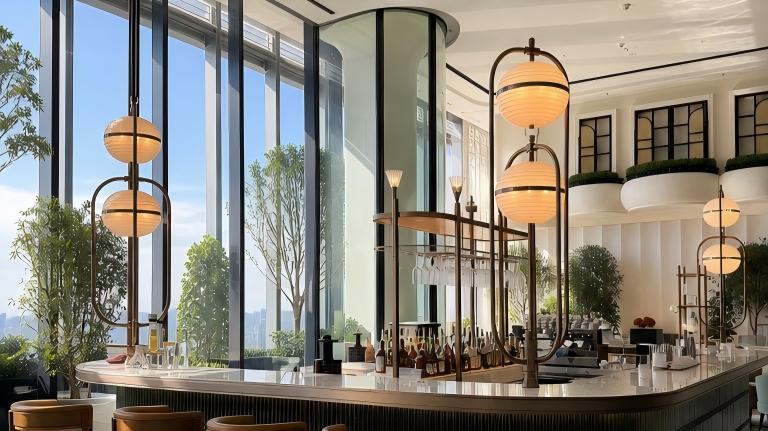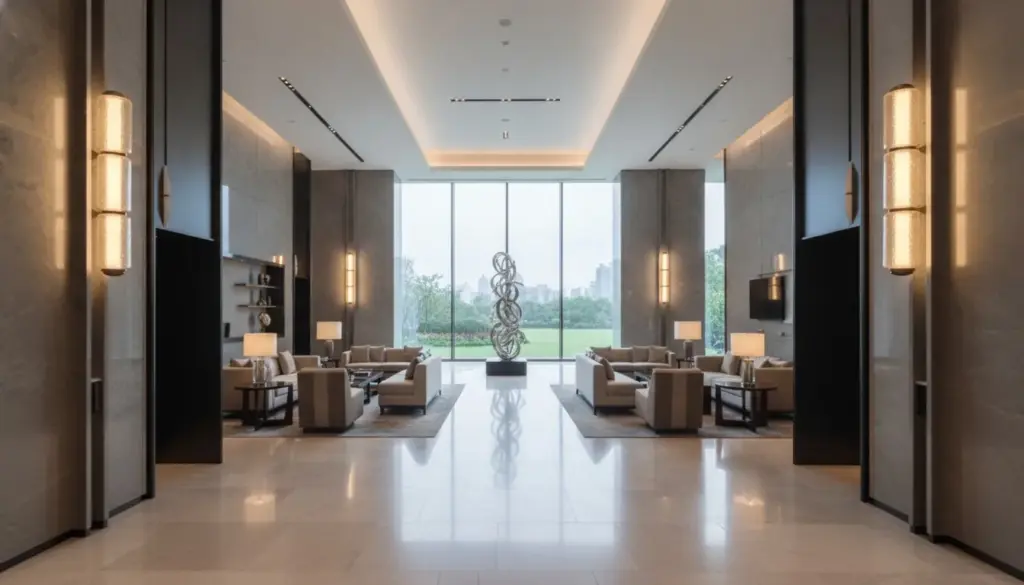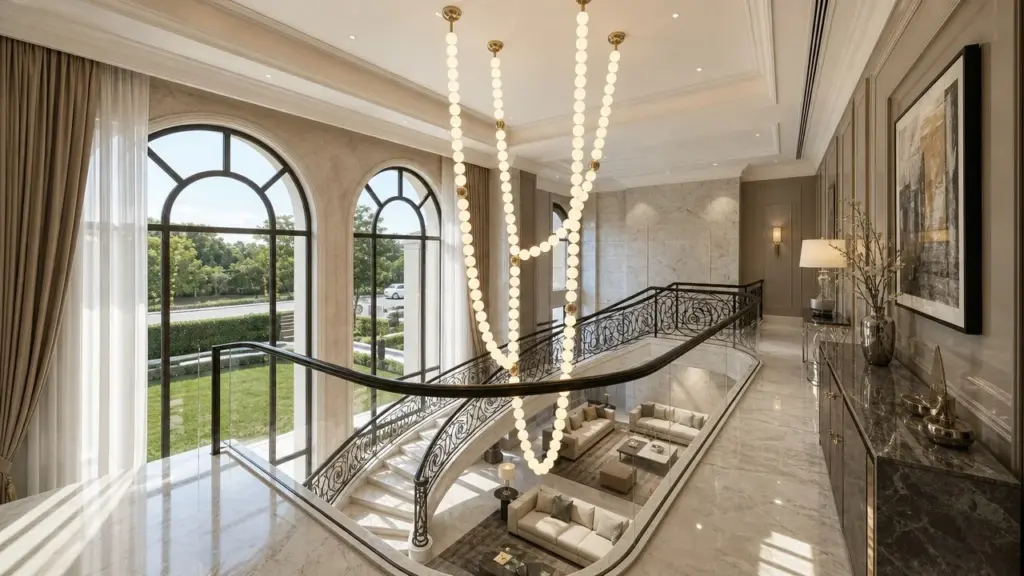
A concept rendering can show the chandelier you want without defining the fixture a manufacturer can develop. Send it with a dimensioned room reference, material and finish samples, lighting requirements, ceiling information and an installation route. Mark what is fixed and what remains open. The aim is not to make the designer solve every engineering question; it is to give the factory enough context to ask the right questions without quietly changing the design.
What a Rendering Shows—and What the Factory Still Needs
A rendering communicates visual intent: silhouette, apparent texture, composition and the relationship between the light and the room. It does not, by itself, establish dimensions, weight, fixing interfaces or maintenance access. Those omissions become assumptions when the factory starts a drawing or quotation. Make the assumptions visible so the first response is a development proposal, not an apparently precise offer for an undefined product.
The useful distinction is between an image reference and an acceptance reference. An image may explain “light, floating and bronze-colored.” A dimensional drawing, a retained finish sample and an agreed viewing arrangement explain what the finished object will be checked against. Keep both: replacing the rendering with a technical schedule can lose the atmosphere, while sending only the rendering leaves too much room for interpretation.
Start the brief by naming the qualities that matter most. Is the curve essential, or is the main priority a transparent appearance? Can the suspension be visible? Which surfaces are seen from the entrance and from the mezzanine? These answers help the manufacturer distinguish a harmless construction adjustment from a change that defeats the design. The lighting specification resources can help the team develop related requirements, but the project brief still needs its own references.
What to Resolve Before the First Engineering Response
- Define the visible design priorities before discussing construction alternatives.
- Attach physical and dimensional references wherever an image could be interpreted differently.
- Identify site information that the manufacturer cannot establish from a product rendering.
- Request a list of assumptions and proposed departures before accepting the development scope.
The Design-Input Information Gap Checklist
Use the checklist as a working handover document, not a test the rendering has to pass alone. Fill each response with a value, a drawing or sample reference, or a named open question and its owner. “As shown” is useful for appearance but weak for anything that needs a measurement, a material decision or a site confirmation.
Separate source color from how illuminated objects appear. The U.S. Department of Energy’s LED guidance distinguishes color temperature from color fidelity. A warm-looking image therefore does not settle both requirements. Record each in the lighting brief instead of asking the manufacturer to reproduce the glow on a screen.
| Input to supply | Question to answer | Record your reference or open item |
|---|---|---|
| Design priorities | Which silhouette, rhythm, transparency or visible suspension details are protected? | Annotated image; essential features: ______ |
| Overall dimensions | What are the width, depth, body height and total installed drop? | Dimensioned plan/elevation; drawing revision: ______ |
| Materials and finishes | Which parts are glass, crystal, metal or another material, and what establishes the finish? | Part-to-material map; retained sample/reference: ______ |
| Light behavior | Is the fixture decorative, a contributor to room lighting, or both? What color and distribution are intended? | Lighting schedule; performance target or open question: ______ |
| Power and controls | What supply, driver arrangement, dimming system and scene behavior are expected? | Electrical/control schedule; responsible consultant: ______ |
| Ceiling and support | Where is the supporting structure, and what ceiling depth, services and fixing constraints apply? | Ceiling section; site confirmation owner: ______ |
| Delivery and installation | What limits the packed sections, handling method and final assembly location? | Route survey; assembly constraints: ______ |
| Service access | How will someone reach, remove and replace the relevant light sources, drivers and decorative parts? | Maintenance approach; access arrangement: ______ |
| Review and approval | Who confirms appearance, electrical requirements, structural interfaces and proposed changes? | Reviewers; approved scope; outstanding decisions: ______ |
Assign a status to each entry: fixed, reference awaiting confirmation, or open. An open item is not automatically a reason to stop all development. It is a reason to identify which drawing, price or construction decision remains provisional. A missing finish reference and an unknown supporting structure have different consequences; do not hide both behind one “subject to approval” note.
Define Geometry, Materials and the Ceiling Interface
Describe the decorative body, suspension and ceiling fixing as separate parts of the design. The body controls the visible composition; the suspension determines the installed position; the fixing connects the assembly to a site condition. A factory can propose a construction method, but it cannot establish the supporting structure behind a finished ceiling from a lobby image.
Also distinguish desired appearance from a specified material. A translucent element might be rendered as glass without defining its wall thickness, edge treatment, surface texture or fabrication method. Identify the visual quality that matters, then ask for material proposals and samples where the selection is still open. This preserves useful design flexibility without allowing an unacknowledged substitution.
For a proposed change, explain what it affects: the outline, visible joint, lighting behavior, weight, assembly or maintenance. That is a better discussion than a vague request to “make it easier to produce.” The same distinction matters in decorative lighting value engineering: compare the consequence of an alternative, not only its price.
Dimension the Fixture in the Room, Not Just in the Image
Provide a plan and elevation that locate the fixture against the finished floor and finished ceiling. Show the body envelope and total drop separately, including the canopy and suspension. Label the measurement units and state whether a dimension is a maximum envelope, a preferred value or something the manufacturer should propose.
A perspective image can make the same fixture seem wider or shallower depending on the camera view. A dimensioned overlay gives the factory a stable reference without forcing the designer to complete fabrication detailing. Include nearby joinery, ceiling recesses and services where they limit the product or its installation position.
Request a clearly identified interface drawing for the fixing arrangement. The project’s responsible engineer or contractor should confirm the site support and installation method as applicable. A concept schematic identifies where information belongs; it does not establish a permissible load, anchor type or clearance.
Give the Factory a Physical Finish Reference
A physical reference helps establish whether a digital color can be achieved in a real product. Pantone’s sample guidance makes that distinction when designs move from digital to physical applications. It does not establish a complete specification for a metal finish; texture, sheen and substrate still need their own references.
For a bronze-colored chandelier, retain an approved metal sample and identify which parts it covers. Specify the visible grain direction, gloss and any intentional variation. If the reference is only a photograph, label it as a starting point and request a sample before the finish becomes an acceptance criterion.
Review glass or crystal samples in a relevant lit and unlit setting where appearance matters. The useful question is not simply whether the color “matches,” but whether the selected material preserves the intended transparency, reflection and surface character. Record any accepted variation rather than leaving different reviewers to make their own assumptions.
Specify Light Output and Controls Separately
Describe what the light should do before choosing its components. A fixture that provides a decorative sparkle has a different role from one expected to illuminate a table or circulation area. State its contribution to the wider lighting scheme, the intended viewing conditions and any performance information the lighting designer needs.
Correlated color temperature describes the color appearance of emitted light; it is commonly shortened to CCT. Color rendering index, or CRI, is a metric describing how faithfully the light reveals the colors of objects. Neither can be read reliably from an edited rendering. Specify project targets separately, and explain when a visual sample or a more detailed color assessment is needed.
ANSI/IES LM-79-24 addresses optical and electrical measurements of solid-state lighting under standard conditions. Its scope includes output, distribution and color quantities. Ask what evidence relates to the proposed light-source and fixture configuration; a similar-looking product’s report does not automatically establish the performance of a changed custom assembly.
If the project specifies DALI-2, identify the actual control components rather than writing only “dimmable.” The DALI Alliance certification overview describes independent verification and a public database of certified products. Component certification is useful evidence, but the selected driver, controller and scene behavior still need coordination for the project.
Define where drivers will sit, how they can be reached, and what low-level dimming or switching behavior matters to the space. Keep the supply and control schedule with the concept brief so the electrical team and manufacturer are discussing the same arrangement. A concealed driver that cannot be serviced is not resolved merely because the rendering hides it.
Kinglong Lighting’s custom development process describes blueprint review, modelling and sample approval. Use that development discussion to connect the visual concept with the intended materials and lighting configuration. The published process is not an assurance that a particular control system, performance target or site detail has already been approved.
Add the Installation Route and Maintenance Access
Give the manufacturer the delivery and maintenance constraints while the construction is still being developed. A fixture can fit the room but not the lift, doorway or staging area used to get it there. Record the route’s limiting openings and turns, the handling restrictions and whether final assembly can happen near the installed position.
Distinguish the assembled fixture from its shipping sections and protective packaging. If a curved element is divided for transport, ask where the joint falls and whether it becomes visible after assembly. Include the installation sequence and access equipment in the discussion with the responsible site team. A concealed joint may preserve appearance yet make future removal unnecessarily difficult.
ISTA’s design and testing guidance distinguishes distribution types and package types when selecting transit tests. That makes the planned shipping arrangement a relevant input to packaging discussions. A transit test evaluates a packaged product in its stated context; it does not demonstrate that the fixture can be safely lifted or fixed inside the building.
Ask whether replacing a driver requires removing the whole decorative body or only opening an accessible cover. Request part identification and a removal sequence for fragile elements. The site team can then review the space needed for access equipment and safe electrical isolation. Cleaning access also deserves a drawing note where surrounding joinery or ceiling features restrict reach.
Ask how each serviceable part is removed and where tools and hands need space. Drivers, lamps and decorative components may have different access requirements. Use published decorative lighting projects to explore visual integration, while requesting the drawings and installation evidence specific to the proposed fixture. A gallery image cannot answer an access question hidden behind the ceiling.
An Annotated Lobby Chandelier Brief
Consider an illustrative lobby chandelier with a shallow curved body, translucent hanging elements and a bronze-colored frame. The rendering shows a floating composition beneath a shaped ceiling, but no suspension detail, physical finish reference or dimensioned installation position. Instead of sending “quote as shown,” the designer can annotate the concept with specific priorities and requests.
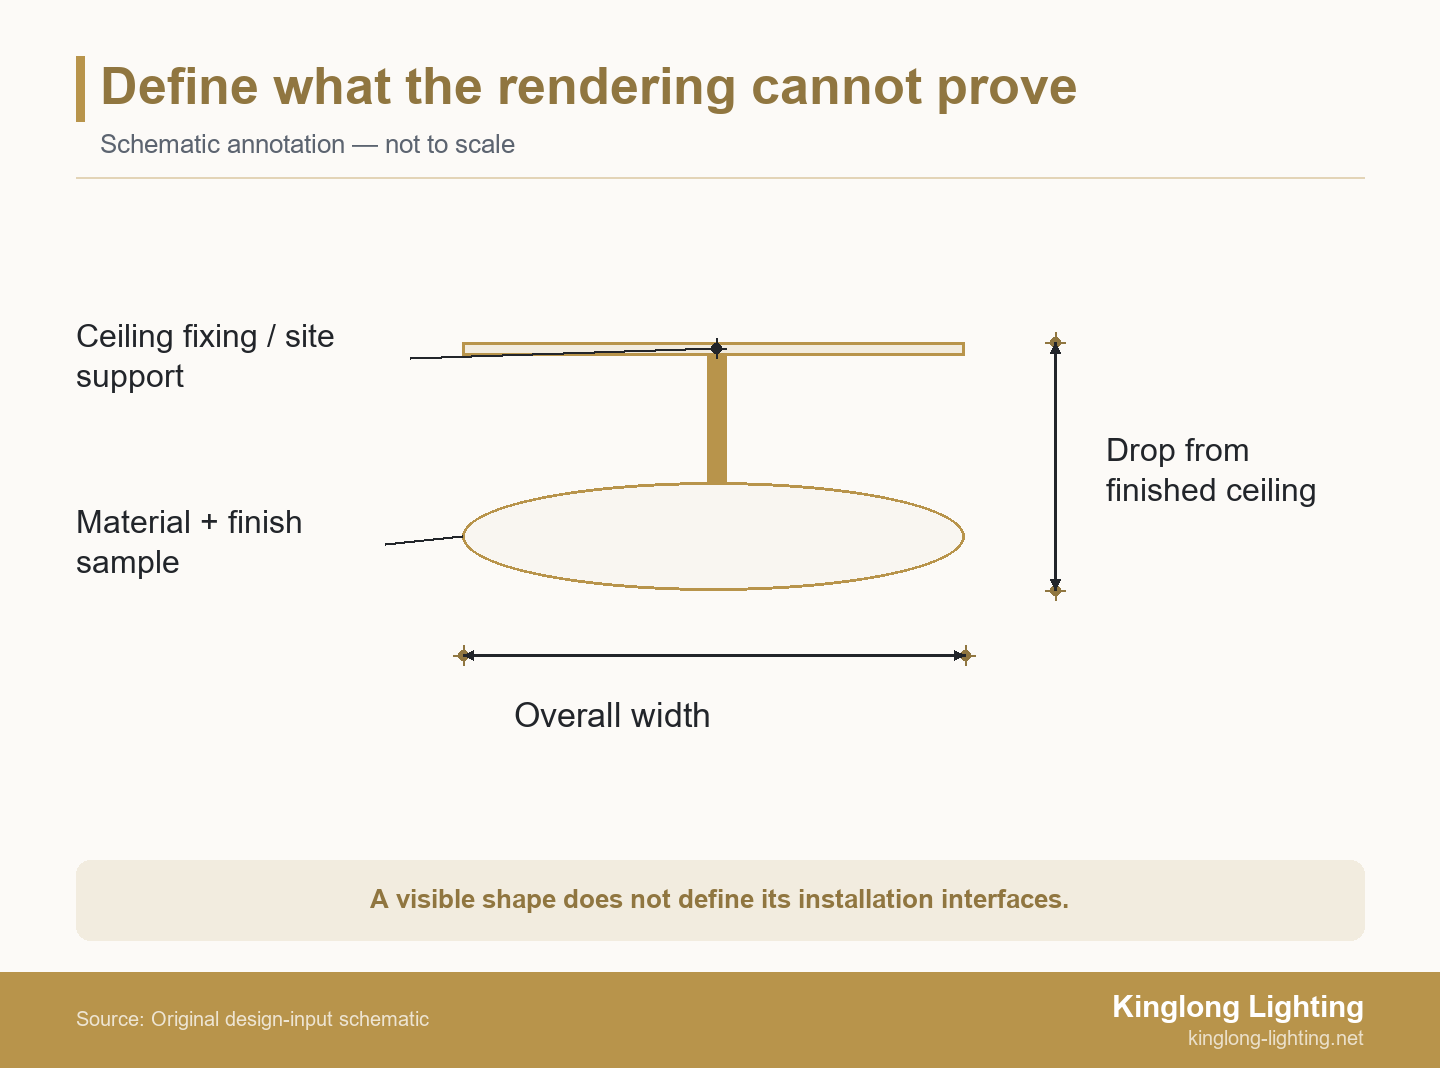
Protect: the continuous curved silhouette, the transparency of the decorative elements and the intended view from the entrance. A proposed segmented frame should therefore show where the joints appear. A thicker or more opaque material should be compared with the original visual intent before it becomes the development baseline.
Define: the overall body envelope on a plan and elevation, the total drop from the finished ceiling and the relationship to the ceiling recess. Reference the relevant room drawing and its revision. Mark the material samples that are available and identify which visible surfaces they represent. Do not ask the factory to derive critical dimensions from the perspective image.
Request: a proposed suspension and canopy arrangement, an accessible driver location and a shipping-section plan that respects the site route. The contractor supplies the ceiling section and route constraints; the responsible project engineer confirms the supporting structure. The manufacturer responds with its proposed construction and identifies missing information. These responsibilities can run in parallel without pretending the site inputs are already settled.
Review the first response: compare the proposed outline with the annotated image, check dimensions against the room reference and inspect the finish sample against the retained reference. If the factory proposes a visible center support or a different translucent material, return that specific change to the designer. This example describes a handover method, not a completed project or a verified load-bearing design.
Send One Controlled Brief and Ask for an Exception List
Package the rendering, checklist and referenced drawings as one dated revision. Identify protected features, provisional inputs and unanswered questions. Ask the manufacturer to return proposed departures from the brief with their design, construction or commercial consequences. A response that says “confirmed” without identifying its assumptions is difficult to review.
For the first enquiry, the deliverable may be a scope clarification, preliminary drawing proposal or request for samples rather than a final fabrication package. State what you want now and what later approval will cover. Keep visual approval separate from the site engineer’s checks and from production authorization.
To discuss the lighting development brief with Kinglong Lighting, send the annotated rendering, room dimensions, finish references and known site inputs together. Identify the open questions and request clarification of the proposed development scope and any design changes. That gives the enquiry a defined purpose without assuming a final price, delivery date or approved installation solution.
Frequently Asked Questions
Do I need CAD files before contacting a lighting manufacturer?
No; dimensioned sketches and clear reference images can start a discussion, provided the missing information and intended development scope are explicit. Ask which editable files will be needed for the next stage. Keep a readable reference copy so dimensions, units and revisions remain clear even when the recipient cannot open the original design software.
Can I use a photograph of another brand’s chandelier?
A photograph can communicate an aesthetic preference, but it does not grant rights to reproduce another brand’s protected design. Describe the qualities you want—such as transparency, scale or an organic outline—and develop an original solution. Confirm ownership or permission for supplied design files where relevant; do not present a reference image as an instruction to make a replica.
What if the ceiling construction has not been finalized?
Describe the ceiling information as open and ask for a provisional interface proposal, not an approved fixing or installation detail. Identify who will supply the final section and supporting-structure information. Development can explore options, but the drawing and quotation should make clear which assumptions remain unresolved before the relevant installation or production decisions are accepted.
Does approving a rendering also approve the fabrication drawings?
No; approval of a rendering confirms its stated visual scope, while fabrication drawings define the dimensions, components and interfaces reviewed for manufacture. Record what each sign-off covers and who gives it. A favorable view of the concept should not be treated as acceptance of an unseen fixing detail, material substitution or electrical configuration.