A villa palette stays coherent when every finish decision points to an identified physical reference and a relevant comparison. Keep the intended color, sheen and texture together, then separate the fixtures by the materials, processes and shapes that need checking. Agree how those samples will be viewed and what counts as acceptable before extending a decision across the package. Twenty lights can share a visual direction without sharing one finishing operation or inheriting approval from a single flat chip.
Define What the Villa Palette Must Match
Control villa finish consistency through the finish master, substrate, process, representative part and comparison conditions, with an agreed acceptance basis for each relevant fixture group. The designer should first state which qualities must stay close and where deliberate variation belongs. A warm metal palette might call for related color and restrained sheen while allowing a hand-worked detail to vary. That is a different brief from requiring adjacent repeated wall lights to look alike.
- Define the desired color direction, sheen, texture and permitted variation against a physical reference.
- Compare the actual material and construction groups that will appear together, including repeated fixtures and close adjacencies.
- Keep acceptance tied to the samples, conditions and features reviewed; identify changes that require another comparison.
Start with the current room schedule and the designer’s material board. The lighting design and procurement resources can help assemble the wider brief. In the finish record, distinguish a visual intention such as “warm satin bronze” from the actual base metal or coating specification. The descriptive name alone should not decide what the factory makes.
Ask the designer to identify the important relationships: repeated fittings along one corridor, a pendant beside wall lights, or a table lamp next to architectural metalwork. Those relationships tell the team which samples should be compared together. They also prevent a remote-room item from becoming the accidental reference for a more visually sensitive pair.
Map the Twenty Fixtures by Material and Process
Map the finished fixtures by visible part, substrate, proposed process and geometry before deciding which finish checks they can share. Substrate means the material receiving the finish. A common palette reference does not establish a common substrate or finishing operation, and a complete fixture may contain several separately finished parts.
The illustrative twenty-fixture package below contains 6 pendants, 8 wall lights, 4 table lamps and 2 landing lights. These are finished-fixture quantities, not component or batch counts. The materials and routes are assumed solely to show how to organize a review; they are not a Kinglong order, an approved manufacturing specification or evidence that the proposed processes suit the actual products.
| Finished group | Quantity | Illustrative visible part / substrate | Proposed route to verify | Representative comparison |
|---|---|---|---|---|
| Pendants | 6 fixtures | Machined brass collar | Plated finish with protective coating | Actual collar beside the physical master |
| Wall lights | 8 fixtures | Fabricated steel backplate | Metallic-effect powder coating | Backplate and assembled wall-light detail |
| Table lamps | 4 fixtures | Cast aluminium base | Metallic-effect powder coating | Curved base under agreed viewing conditions |
| Landing lights | 2 fixtures | Formed aluminium bracket | Metallic-effect powder coating | Formed bracket beside its adjoining finish |
For effect powder coatings, IGP’s color-tolerance guidance explains sensitivity to application conditions and workpiece geometry, and calls for process-specific limit samples agreed with the customer when application conditions differ. This supports checking the actual coated part. It does not make powder-coating guidance a rule for the plated collar or establish a universal villa-lighting tolerance.
Use a published lighting project portfolio to discuss how finishes read at room scale. Mark the relationship you want to preserve, then return to the new project’s physical samples. An installed photograph supplies visual context; it does not show that the proposed material and process have passed a finish comparison.
Keep a Physical Master and Relevant Part Samples
Keep an identified physical finish master and representative samples for the construction groups. Acceptance of a flat sample should not automatically cover every curved or assembled fixture. The master is the physical reference selected for comparison, with an identity, revision and a statement of the features it represents. Record who holds it and which matching reference the factory will use.
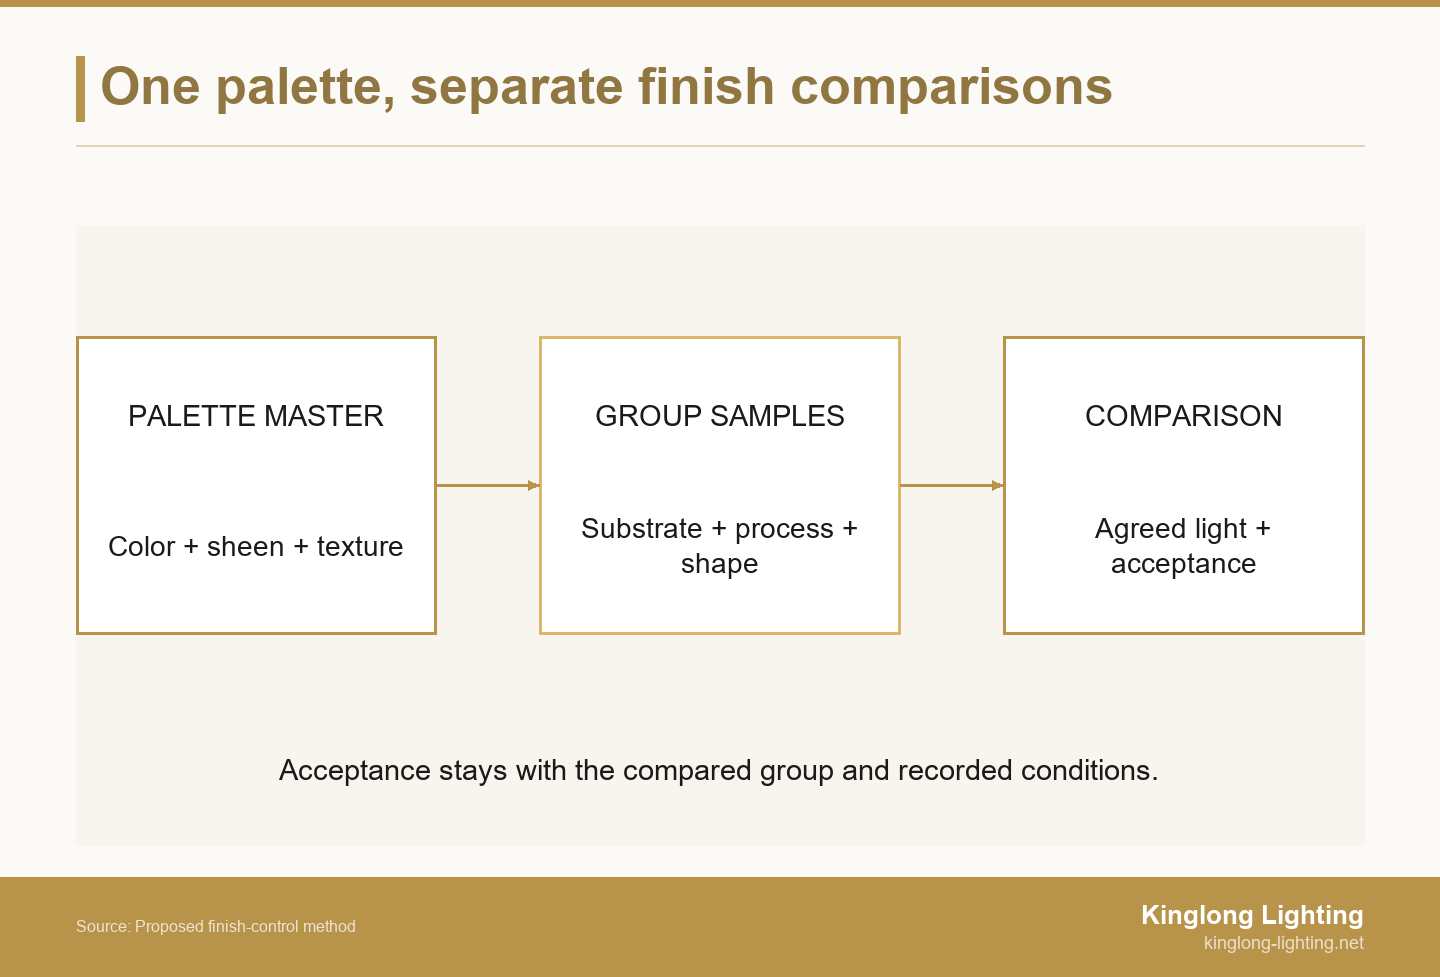
A single master may express the desired palette while the designer accepts separate representative parts for different routes. Link each accepted part back to that intention and say whether it becomes a working comparison reference for its group. Avoid allowing a convenient new sample to replace the original target silently. If the target changes, issue the change explicitly and identify the groups that need reassessment.
For the example, ask to see the collar, backplate, curved base and formed bracket rather than treating the powder-coated flat panel as the entire sample package. The assembled detail can reveal how adjoining parts read together. Define the review’s coverage: visible surface, edges, joints or the complete assembly. The supplier should confirm the actual material and proposed process before the sample is treated as representative.
If the designer and factory keep separate physical references, identify both copies and compare them together before they are separated. Record how each relates to the selected master and its revision, including any difference the designer accepts for use as a working reference. If nobody has verified that relationship, arrange a joint comparison or send the identified reference to the reviewing party. Two labels carrying the same finish name are not evidence that the physical references agree.
Identify selected models from Kinglong’s decorative-lighting collections alongside the requested finish changes. Existing product references help locate the relevant parts; the finish brief should still name the intended comparison. A catalogue image can start selection, while an identified physical sample supports the subsequent appearance decision.
Agree the Light, Orientation and Comparison Method
Agree the actual comparison light, part orientation, surroundings and relevant geometry before relying on a visual or instrument result. Compare the master and candidate together, with their identities visible in the record. Include the relevant daytime and electric-light conditions agreed with the designer, rather than letting each participant judge under an unrelated light source.
X-Rite describes metamerism as colors appearing to match under one lighting condition but differing when the light changes. That explains why an acceptable comparison under one light may leave another important viewing condition unresolved. It does not diagnose every mismatch as metamerism or require a project to match under every conceivable light.
View parts in the orientation in which their appearance matters. Turn a curved or directional sample as agreed, and note the region being judged. Photographs can document labels, arrangement and visible concerns for discussion. If a decision depends on an uncertain photographic appearance, arrange the required physical comparison instead of treating a phone image as the physical reference.
Measurement also needs an appropriate method. Rhopoint explains that curvature can divert the measuring beam away from a standard flat-surface gloss meter and cause incorrect readings. Ask whoever measures the sample how the instrument, measurement area and positioning suit that part. A gloss value from a convenient flat area should not silently stand for an unmeasured curved feature.
Use a Finish Consistency Control Plan
Use the finish consistency control plan below for each relevant group. It sets out what to check, what to record and the next action when evidence or the acceptance basis is missing. Replace the prompts with actual references and decisions; a completed-looking sheet is useful only when its entries identify a real comparison. Name the person who coordinates factory information and the designer or other appointed person who decides the appearance.
| Control point | Check | Record to complete | If missing or outside agreement |
|---|---|---|---|
| Palette target | Color, sheen, texture and intended variation | Master ID / revision; features and responsible designer | Clarify the target before judging conformity |
| Construction group | Actual visible parts, substrate, process and geometry | Fixture and part IDs; factory-confirmed route; covered quantities | Separate unconfirmed parts and request the missing details |
| Representative sample | Whether the sample covers the relevant surface or assembly | Sample ID / revision; group and features covered | Request a relevant part or assembled-detail sample |
| Viewing conditions | Agreed light, orientation, surroundings and adjacency | Comparison setup and conditions actually reviewed | Repeat under the missing agreed condition |
| Acceptance basis | Agreed visual range and any applicable measurement method | Accepted reference or limit samples; criteria, method and decision | Resolve the criterion or mismatch; do not record a pass |
| Production and changes | Relevant run, material, route and reference continuity | Applicator’s batch/run proposal; retained sample IDs; change links | Identify affected groups and arrange a fresh comparison |
| Handoff | Link between accepted appearance and supplied items | Fixture/room allocation; sample and decision references | Resolve unidentified items before relying on acceptance |
Do not borrow a convenient numerical color limit from an unrelated product. X-Rite’s tolerancing guidance recommends using calculated color differences as an initial basis until confirmed by visual judgments. For this project, agree the visual range and any applicable measurement method and limits with the responsible parties. The method, reference and acceptance rule belong together. Use the agreed project specification rather than assuming a universal numerical threshold.
Where visual limit samples are used, identify the accepted boundaries and the conditions in which they apply. A pass/fail entry should say what was accepted, against which reference, by whom and for which group. Keep a separate instruction for any manufacturing action; an appearance decision is only the appearance scope actually recorded.
Plan Batches and Recheck Changes
Ask the factory and applicator for a process-specific plan for batches and repeat runs. Keep identified reference and production samples so later work can be compared with the accepted group. Ask which items can reasonably share a run, which cannot, and how separately processed parts will be checked together. Neither a shared finish name nor the number of finished fixtures answers those questions.
In its metallic-effect powder-coating guidance, Axalta advises a single powder batch for the job and warns that small batch variations can become visible when separately coated parts are assembled. This is specific powder-coating guidance. Use it to question the proposed powder route; do not prescribe one common batch across plating, powder coating and other unlike processes.
If the schedule requires separate runs, ask the supplier to explain the comparison between them and the retained samples it will use. Identify the relevant production records rather than writing “same finish” beside every delivery. If the substrate, preparation, coating product, applicator or proposed route changes, establish which group’s sample and acceptance need another review.
A process substitution can also alter the intended appearance or commercial scope. Use the decorative-lighting value engineering guide to frame that review. Preserve the original requirement and the proposed alternative, including any changed sample or detail work. A revised price or delivery proposal should not silently stand in for the designer’s acceptance of a different finish.
Resolve a Mismatch Before Expanding Acceptance
Return to the illustrative package and suppose the wall-light backplate looks too glossy beside the accepted pendant under the agreed comparison. Keep the affected wall-light group unresolved. Identify the sample, finish reference, viewed features and conditions, then ask the factory for a revised sample and repeat that comparison before extending acceptance. This is a proposed handling method, not a reported defect or corrected customer outcome.
Describe the observed difference rather than inventing a cause: “backplate sheen differs from the accepted direction in this setup” is a question the supplier can investigate. The factory or applicator should assess the proposed correction and identify what changed. The team then compares the revised sample with the same relevant references and records whether the agreed appearance is achieved. A new photograph or an assurance that the recipe was adjusted is not the comparison result.
If the revision meets the agreed basis, record its sample identity, affected group and decision. If it still falls outside that basis, keep the exception open or have the designer explicitly review a changed target. Do not quietly widen the acceptance range to make the sheet pass. Check other groups only where the supplier identifies a shared dependency or the change affects their comparison.
If the physical master or agreed comparison basis is missing, do not record a finish pass. Identify the missing reference or condition, arrange the relevant physical comparison and return the decision to the responsible person. If only a photograph of the original master survives, clarify whether a replacement physical reference must be selected and which existing decisions that changes. The practical result is a named outstanding action, not an assumed match.
Bring Kinglong the Palette and Its Open Questions
Prepare the floor plan and ceiling heights, room and fixture schedule, preferred product references, physical master and desired sheen and texture. Add the known substrates and finishing routes, relevant comparison conditions, unresolved differences, destination and budget basis. Mark assumptions as open questions. These inputs make the palette discussion specific enough to identify which product parts and sample details need attention.
Kinglong’s villa page requests floor plans, ceiling height, preferred mood and budget, and describes sample review. You can discuss the villa palette with Kinglong to explore relevant fixture options and clarify the sample or detail information needed next. Keep the response tied to the identified groups and references. The useful next step is a more specific product and sample discussion, with actual finish feasibility, comparison arrangements and commercial scope confirmed for the project.
Frequently Asked Questions
Is a finish name or color code enough to approve the result?
A finish name or color code communicates direction but does not settle sheen, texture, process or the appearance of the actual part. Attach the identified physical reference and state the features to compare. If a code and sample appear inconsistent, ask which governs the proposed work and resolve that conflict with the designer before treating the sample as accepted.
Can different suppliers use the same finish master?
Different suppliers can work from a common identified master, but their actual parts and process-specific samples still need comparison. Confirm that each holds the intended reference and understands the relevant conditions. Where their products meet visually, compare the adjoining samples together and assign responsibility for coordination. Sharing a reference does not make one supplier responsible for another’s process or result.
What if the designer wants a living or hand-applied finish?
Agree the intended variation and aging behavior rather than promising permanent visual identity. Ask the supplier to describe the proposed finish, protective treatment, care information and expected changes relevant to the product. Let the designer decide whether those characteristics suit the palette. Retain representative samples and the accepted variation description, so deliberate character is distinguishable from an unexplained departure from the brief.
How should a replacement be matched later?
Use retained references and the actual installed context to assess a later replacement; do not promise an invisible match from an old code alone. Identify the original part, substrate, route and sample records, then ask for a replacement comparison. Consider the appearance of the existing adjoining parts when agreeing the decision. Record any accepted difference and the actual replacement scope rather than reopening unrelated fixture groups automatically.